Entra ID (formerly Azure AD) FAQ’s
1. What do I need to do to provision Entra ID (Azure AD) to connect to Dynasend?
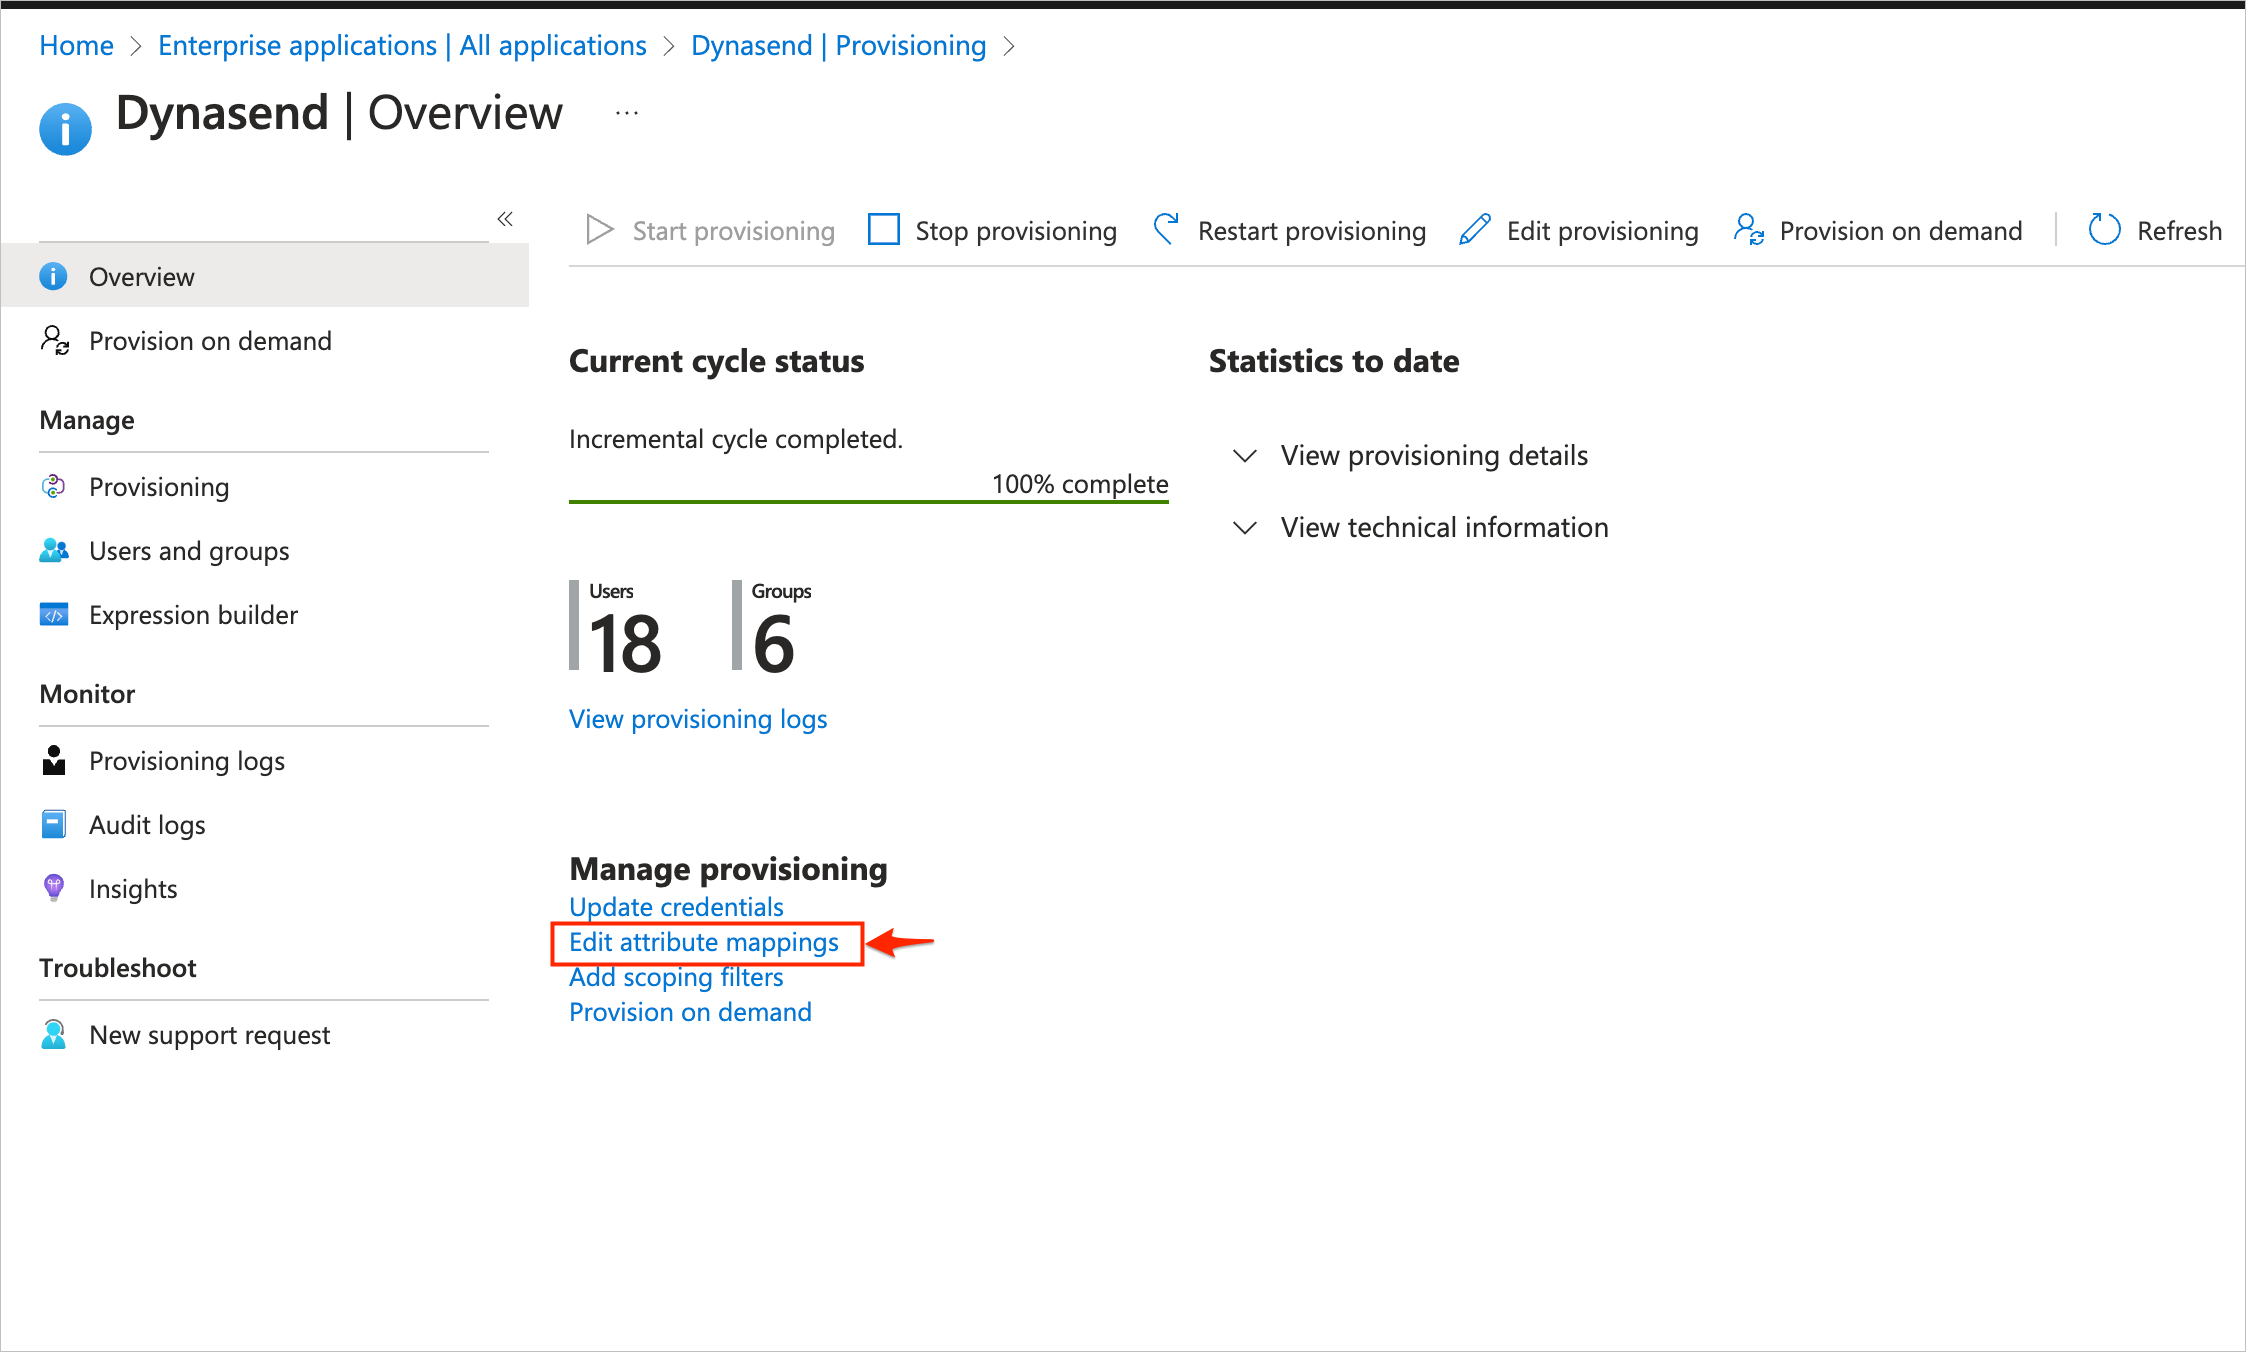
Complete instructions are found here.
2. After deleting a user from Entra ID (Azure AD) they still appear in Dynasend. Why is this?
As explained in this Microsoft article, deletions of resources (users in our case) that you make in Entra ID (Azure AD) are automatically “soft-deleted” for 30 days. During this time period, the user will continue to appear in the Dynasend database. After 30 days has passed, the user will automatically become “hard-deleted” from your Entra ID (Azure AD), at which time they will also be removed from the Dynasend database.
3. How can I transmit non-standard data to Dynasend in my data feed?
To keep the provisioning process simple, we utilize standard data definitions by default. This means that you do not need to do anything special to transmit basic data:
- email address
- name
- title
- location
- phone number
- mobile number
- fax number
However, in some cases there may be one or more additional data elements that you store in AD, and that are also needed by the email signature. If this is the case, additional data items can be transmitted to us via the following procedure:
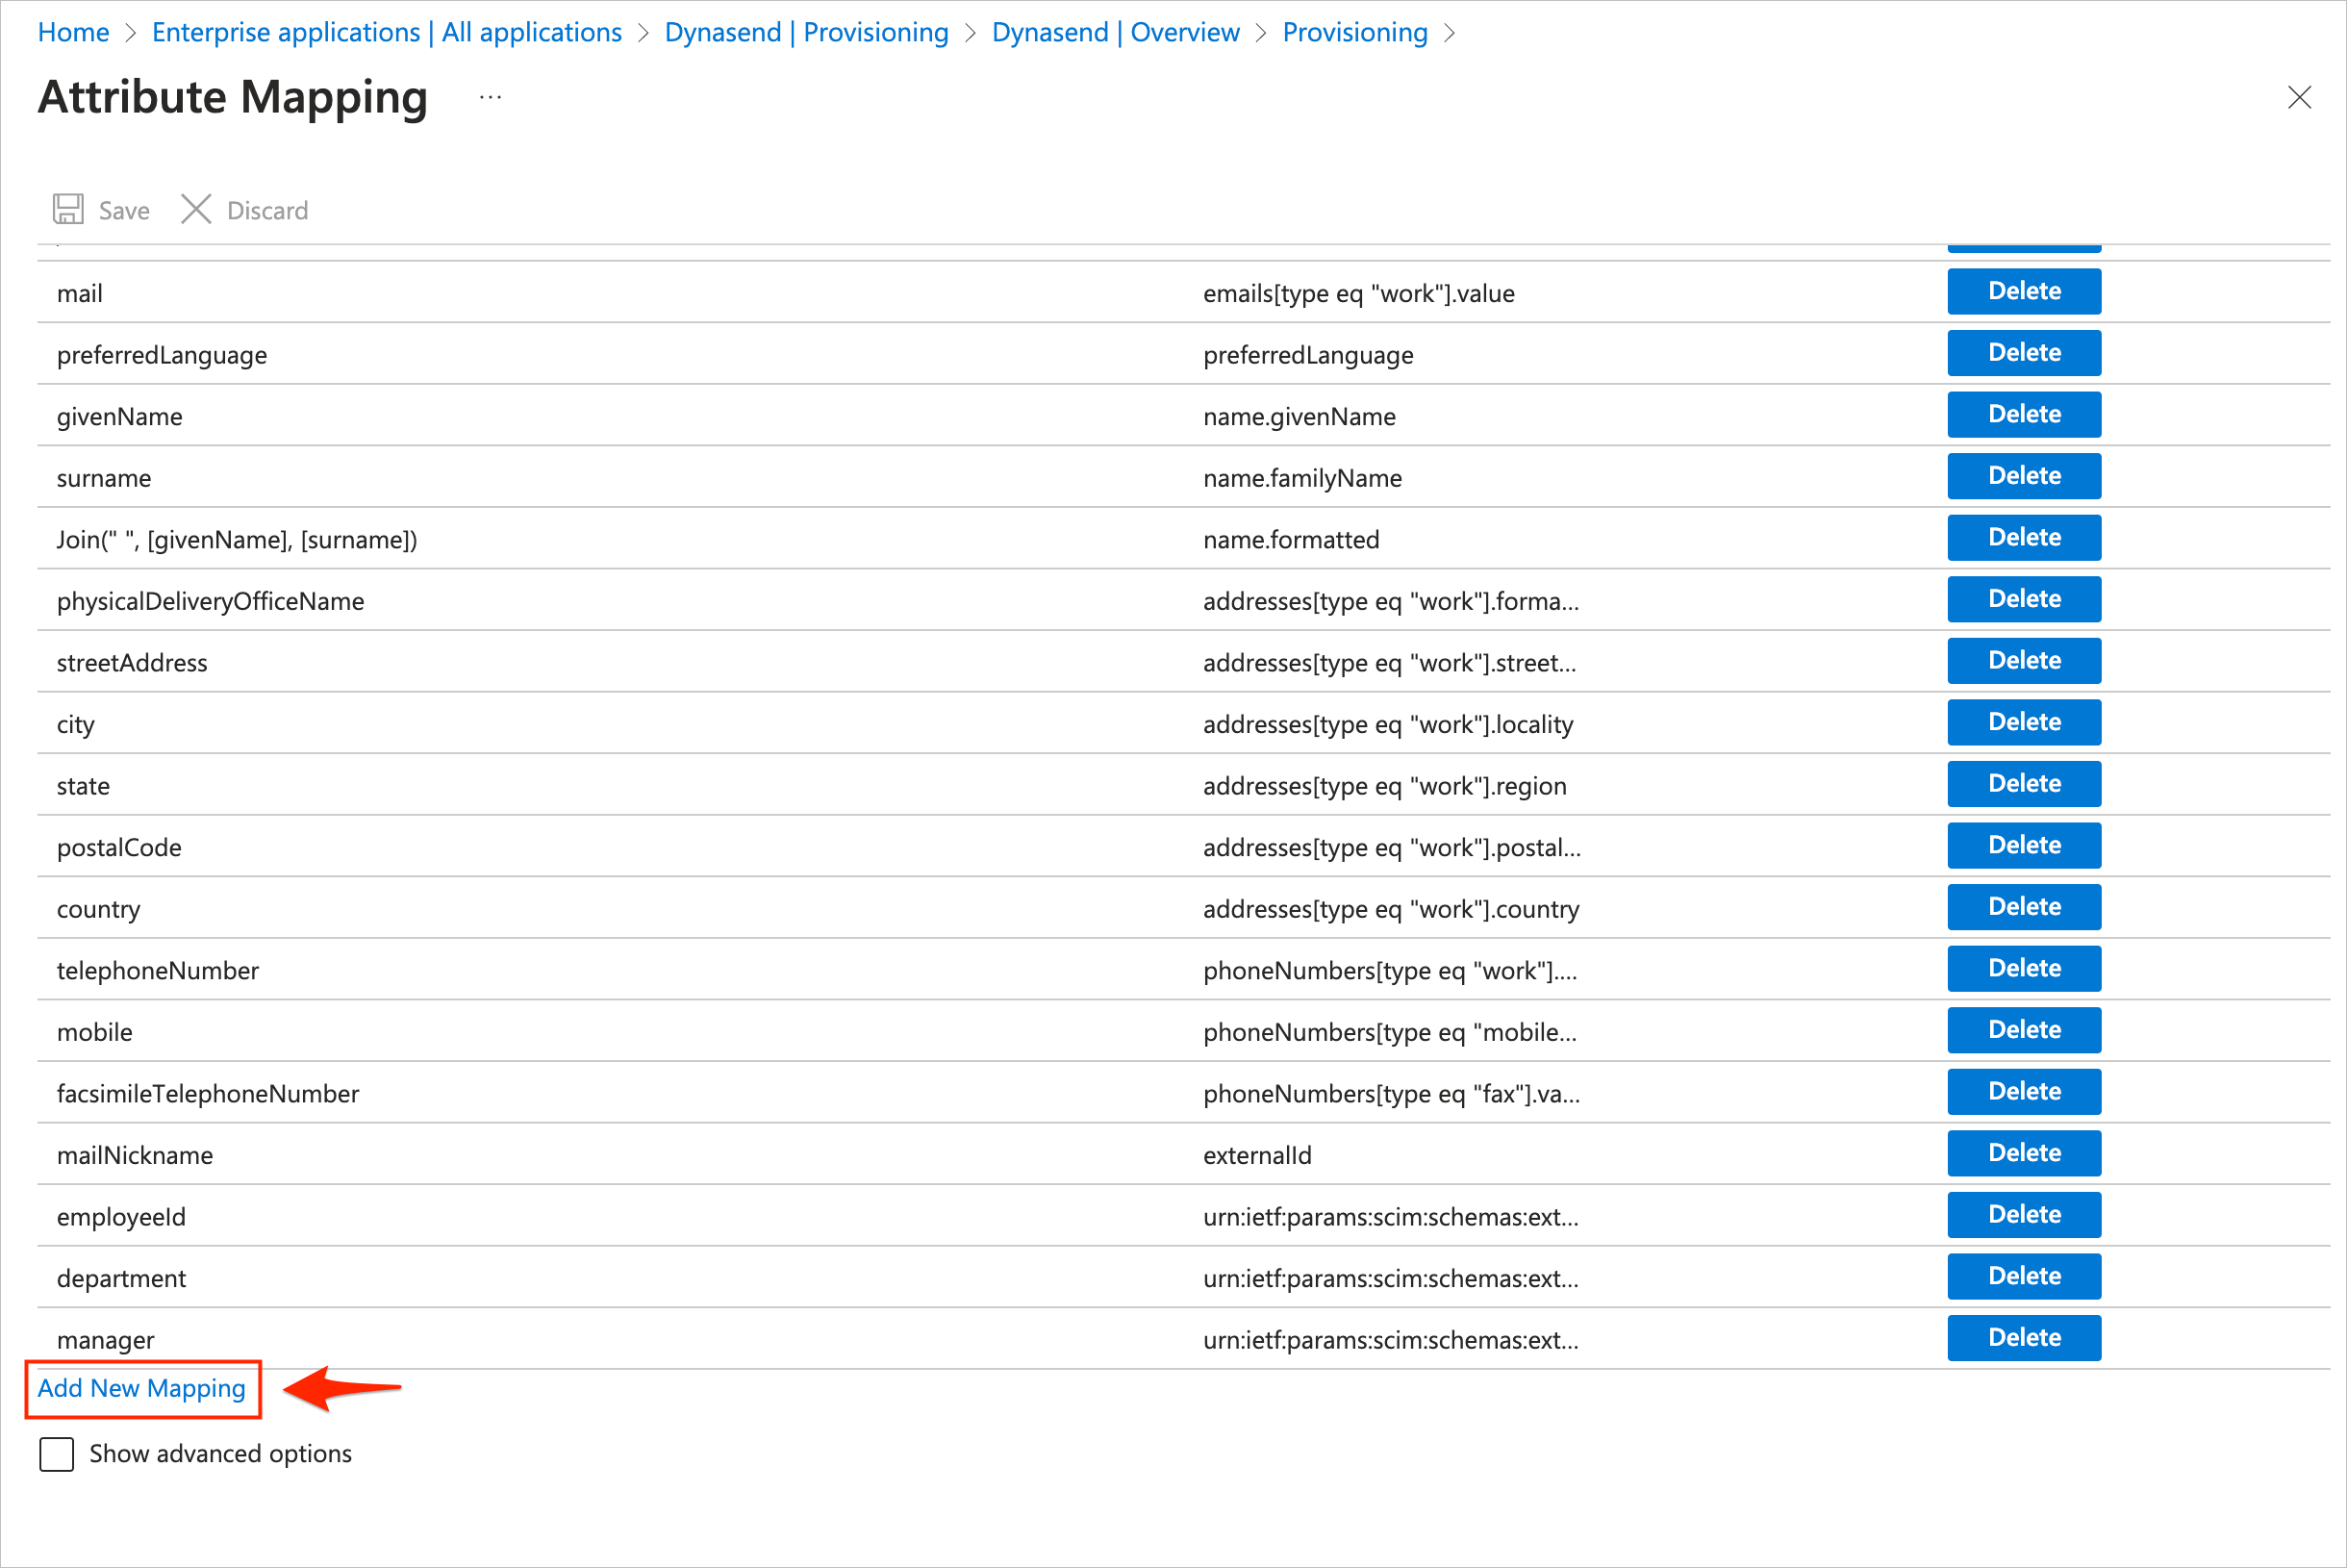
Once you have reached the Edit Attribute screen, you’ll want to select “Direct” as the mapping type.
Then, from the “Source attribute” dropdown, select the data item that you wish to include in the data feed.
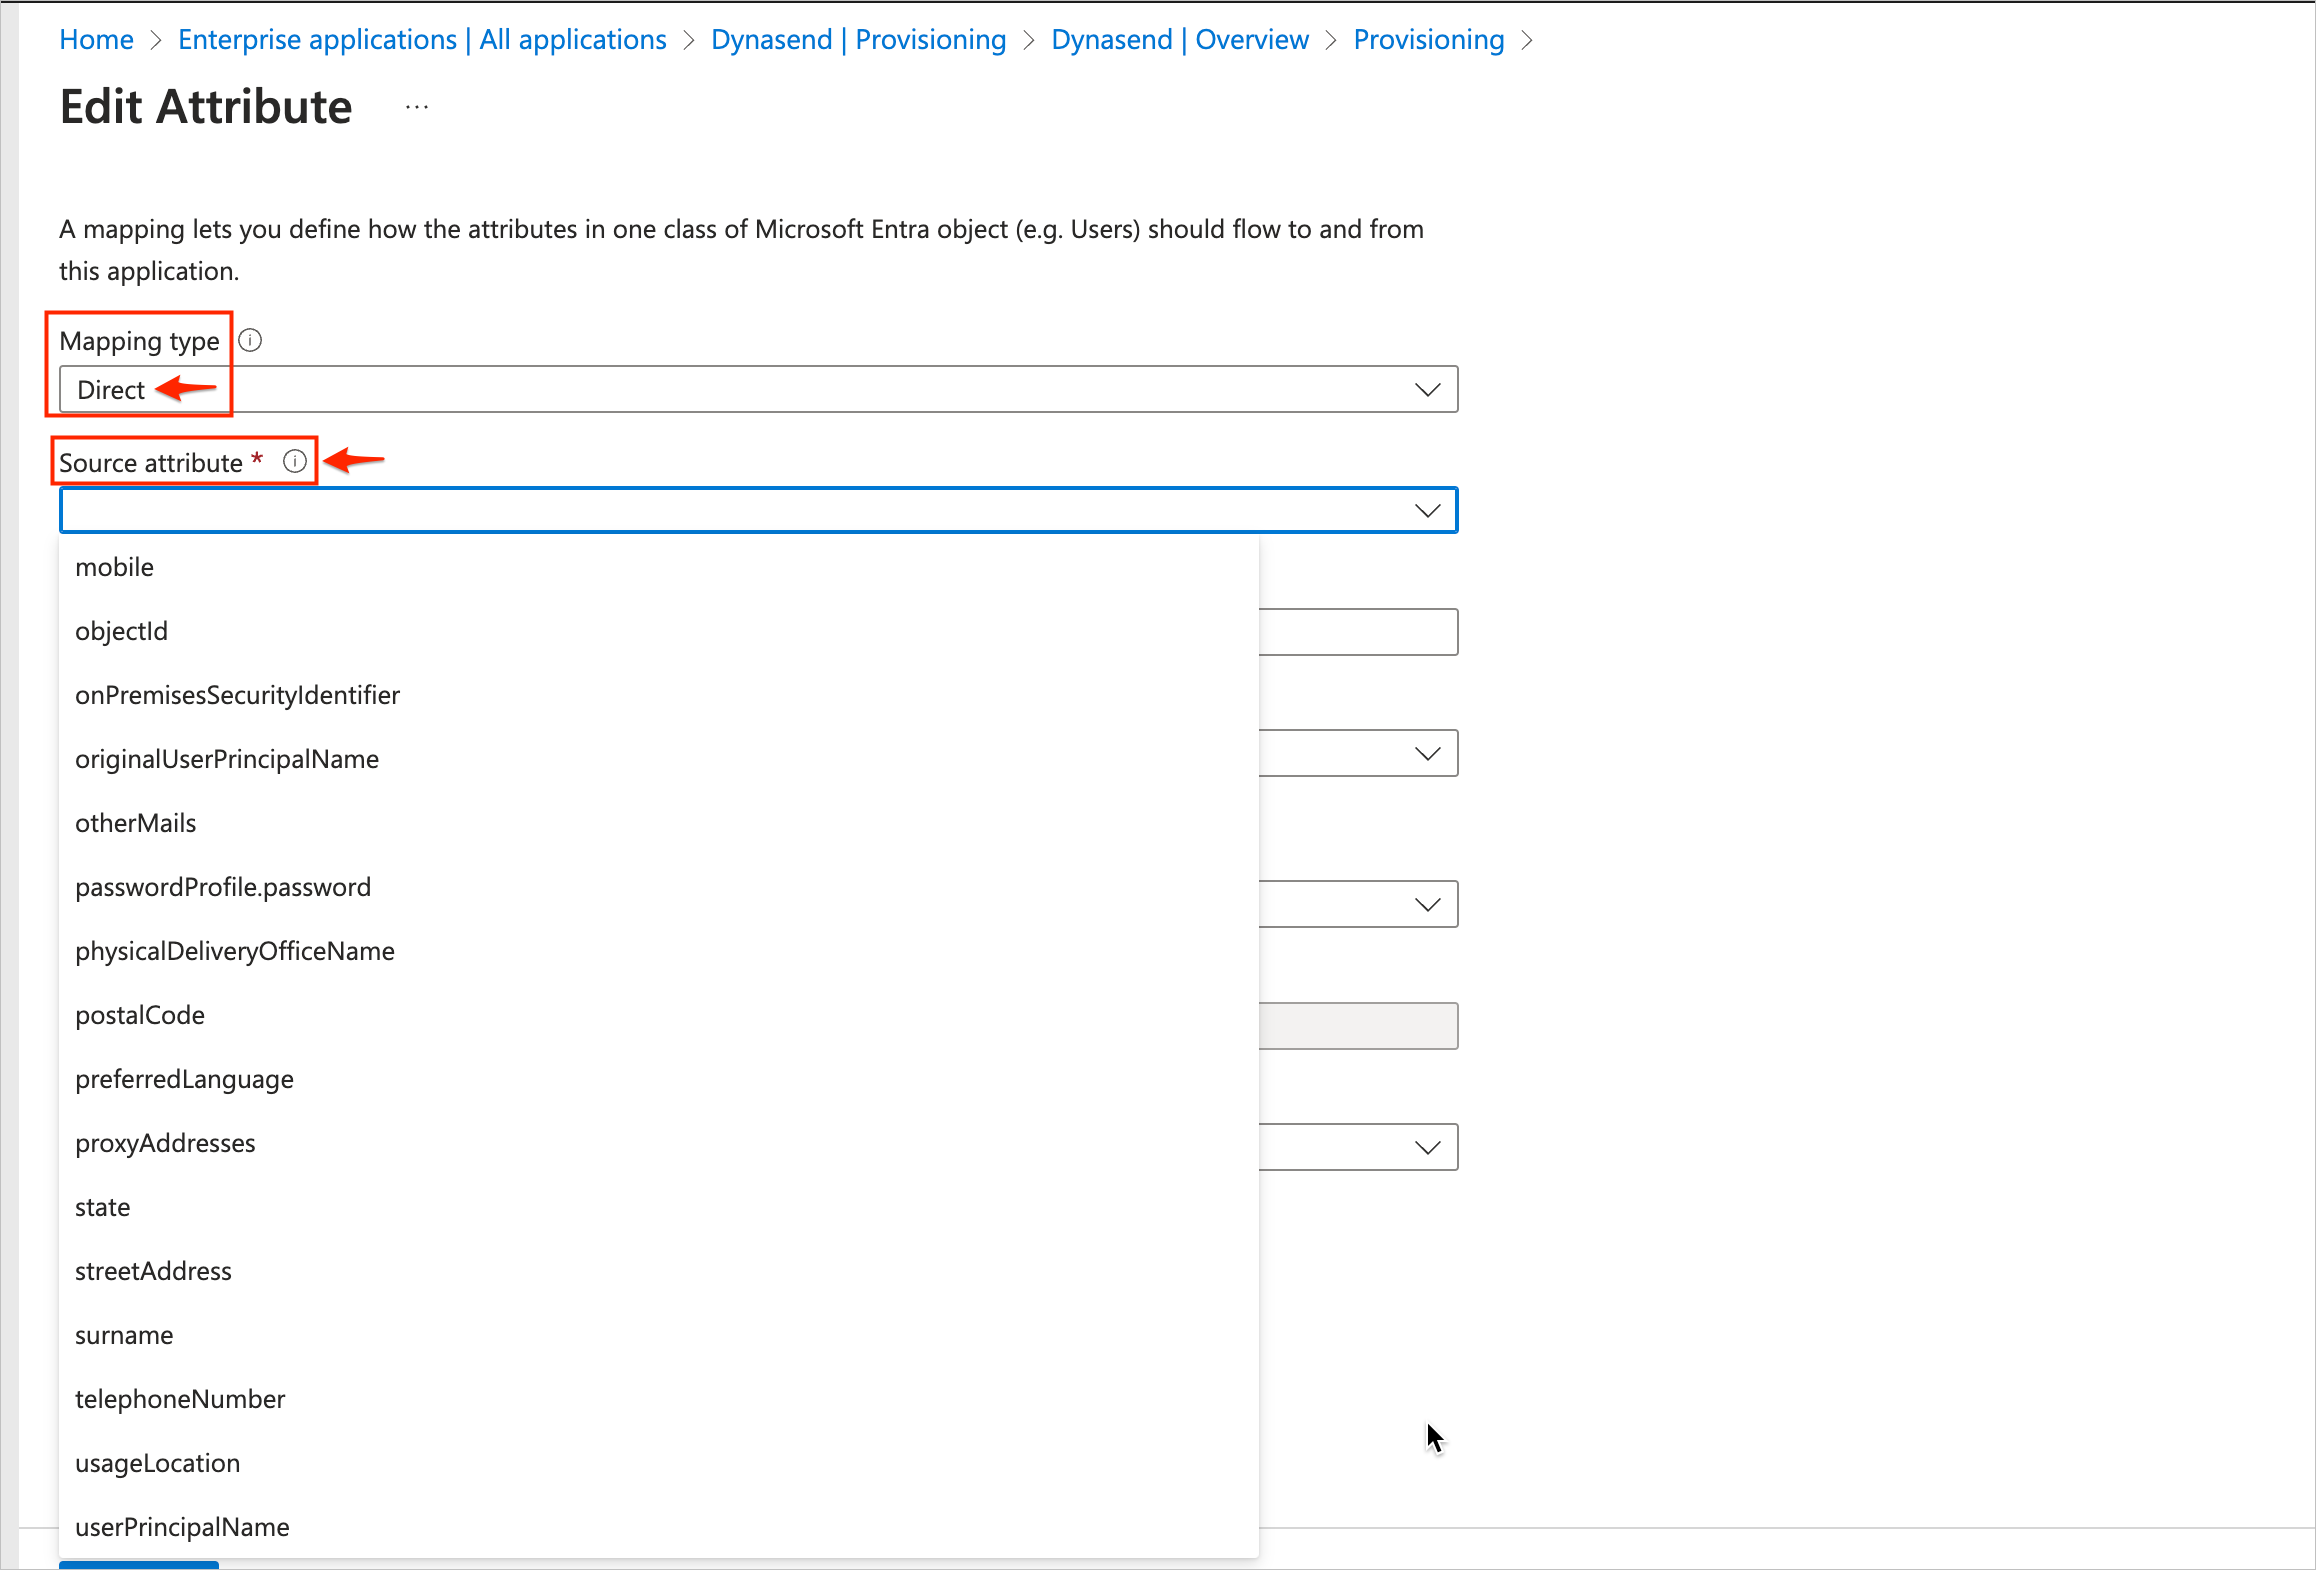
Next, from the “Target attribute” dropdown, select something that is otherwise not in use.
Note: The match does not have to be logical, the goal is simply to get the data to us. So, for example, if you want to map the user’s “Bio URL” from your AD to the target attribute, “timezone”, that’s fine. We will understand that that’s how you’ve set up the mapping and we will accomodate on our end.
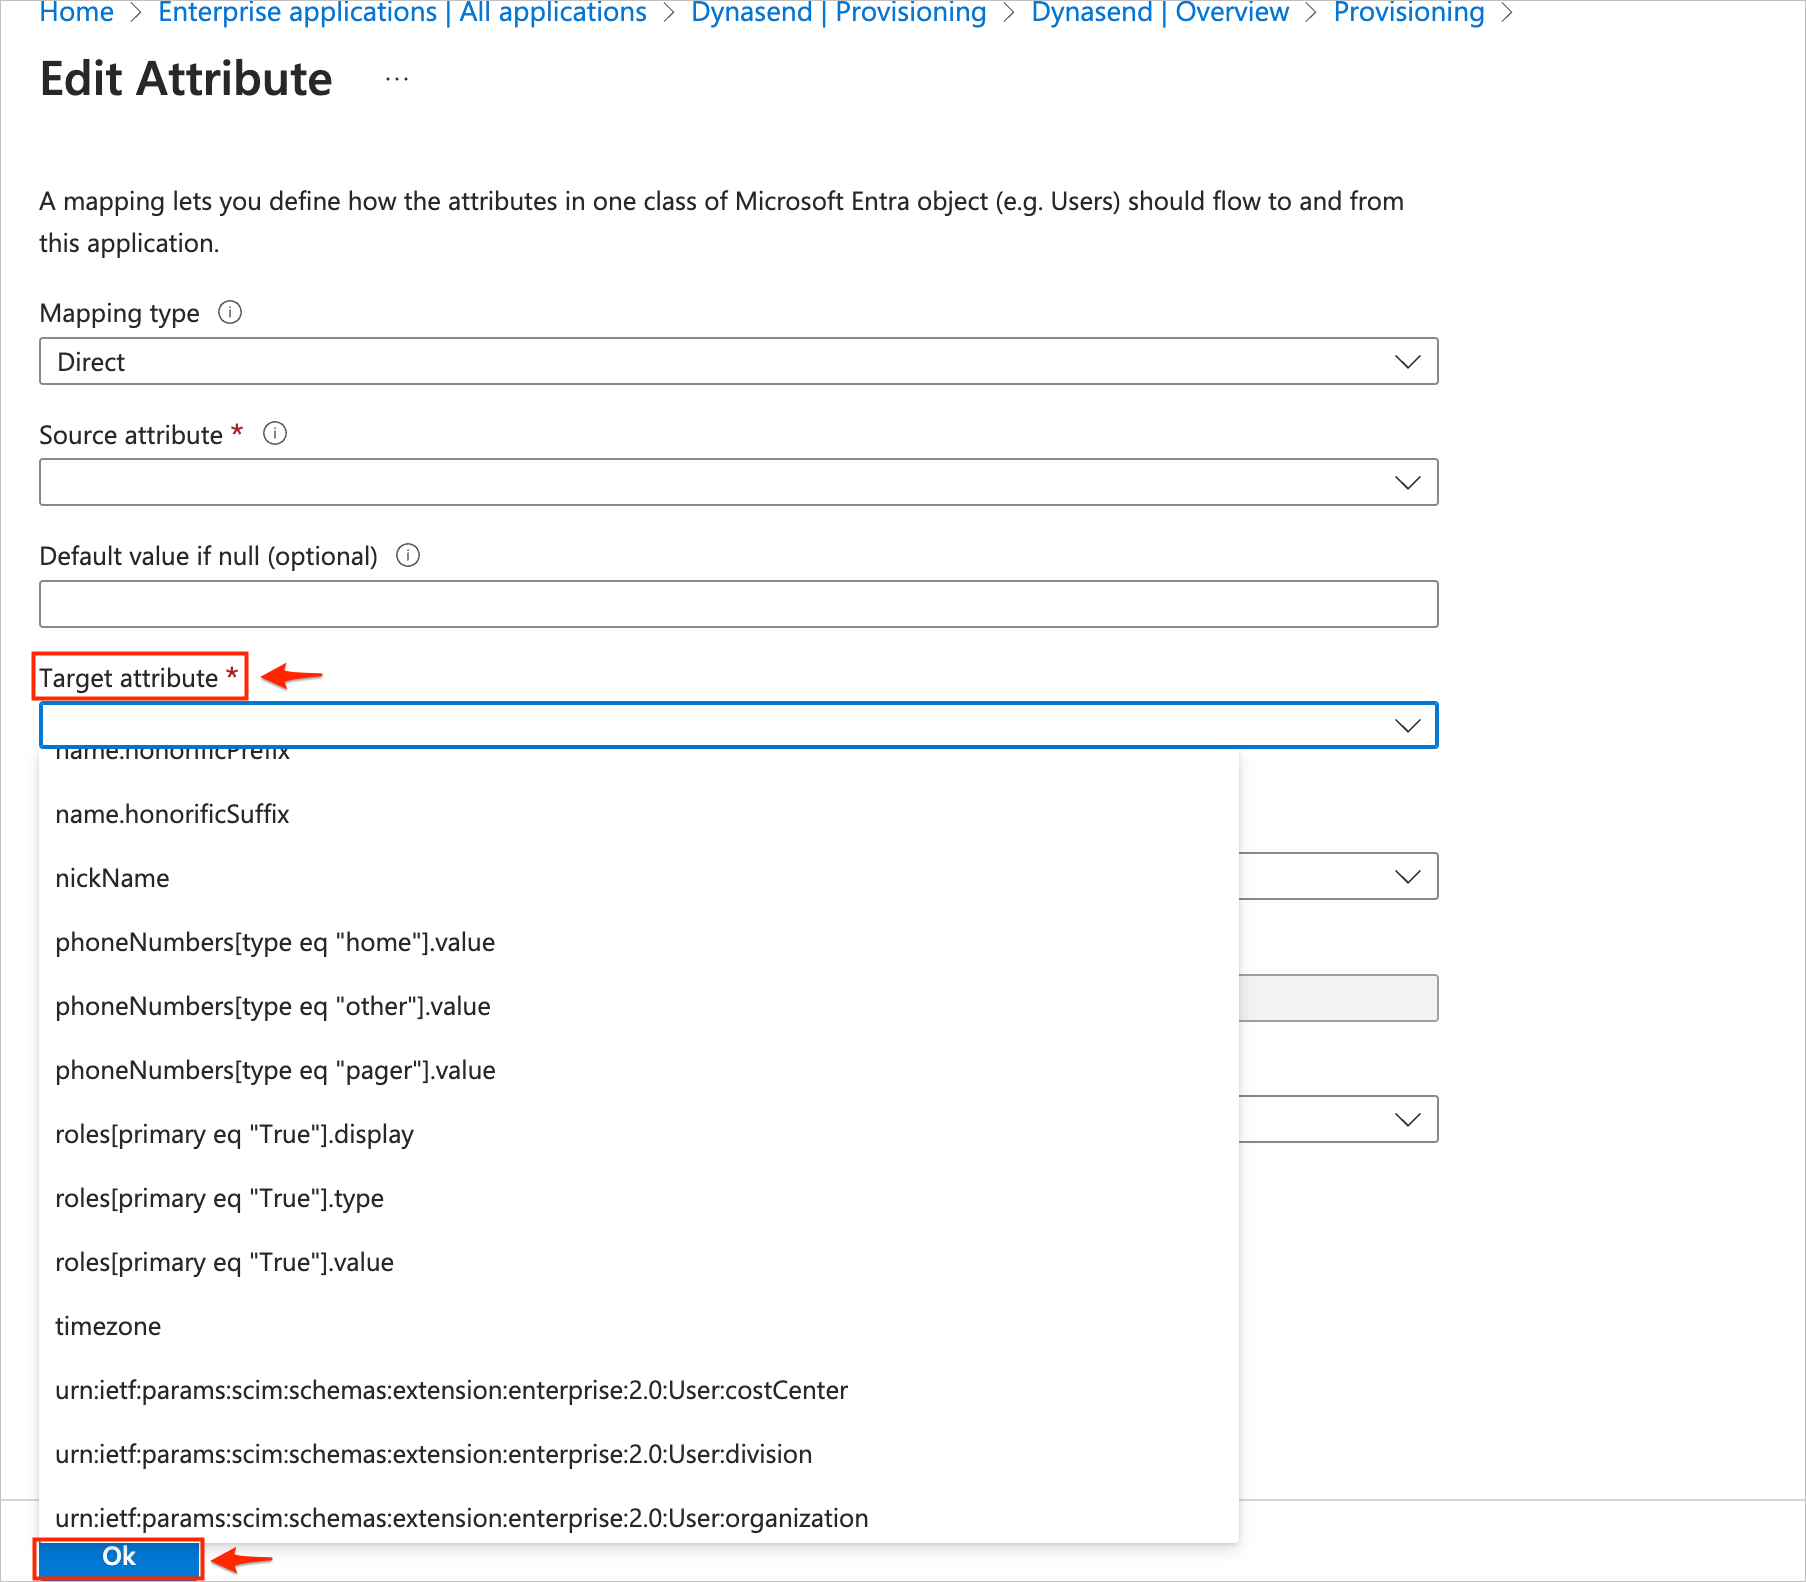
Click OK at the bottom when done.
4. I have provisioning set up but my user data is not flowing to Dynasend?
In order to make all users visible to Dynasend, this final step in the provisioning process must be taken.
Note: If you don’t already have an Active Directory group containing all mailbox users, create a group in Active Directory called “Dynasend” or “All Users” and add all mailbox users to it. Then wait for that group to sync up to Azure.
Then, within Azure, for the Dynasend service principal under that Provisioning section, click on USERS AND GROUPS and then click on ADD USER/GROUP and then add this group of all users from Active Directory:
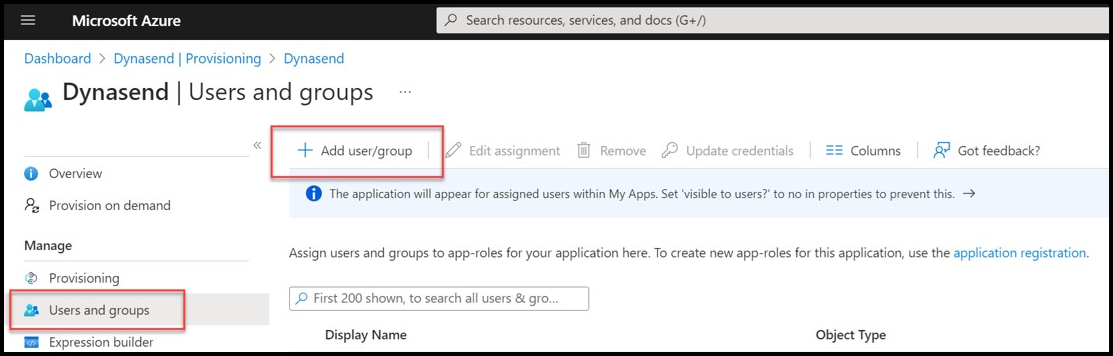
This will complete the process of sending data on all users to Dynasend. If you continue to have problems, these two resources may be helpful:
Microsoft Article - No users are being provisioned
Github Issue - Provisioning stuck on “Initial cycle not run”